Extractie is voor een beginnende student vaak een hele klus. Een geometrische figuur is zeer eenvoudig te extraheren maar een boom of haar is dat niet. Er is geen exacte oplossing voor een bepaald extractieklus maar indien je de volgende selectiemethoden kent en kan gebruiken zal je vast en zeker geen problemen met extractie meer ondervinden.
Oefening 1: Hoe eenvoudige objecten selecteren
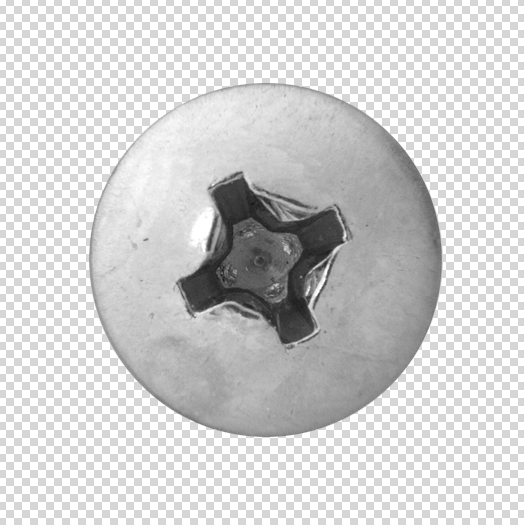
Objecten met eenvoudige vormen zijn heel snel te selecteren. Laten we de achtergrond van deze schroef verwijderen.
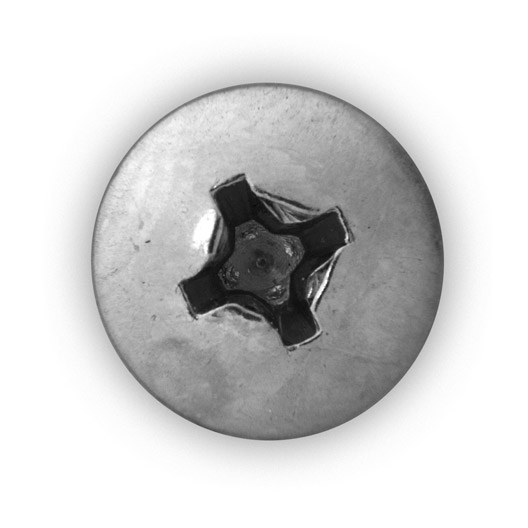
Open de afbeelding van deze schroef in Adobe Photoshop. Neem de Elliptical Marquee Tool van de tool bar links. Omdat de selectie rond is, gebruiken we de circle selection om dit te extraheren. Maar omdat we het centrum van de schroef nauwkeurig willen bepalen, dienen we dit eerste te bepalen. Het Adobe Photoshop grid kan ons daar bij helpen. Ga naar view>Show>Grid
Open the screw image in Photoshop. Grab the Elliptical Marquee Tool from the tool bar on the left. Since the form of the object to extract is a circle, we will use a circle selection to extract it. But before start using the selection tool we need to highlight the center of the screw. Photoshop grid can help us. Go to view>Show>Grid
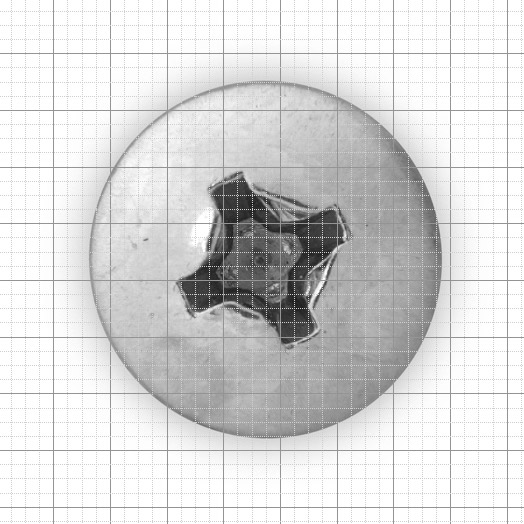
Now that it’s easier to find the center of the screw head, grab the elliptical marquee tool, hold down alt and shift, left click on the center of the screw and drag until you select the entire object.
Why to press shift? Shift key is often used in Photoshop to maintain constant proportions. If you want to re-size an object without modifying its proportions, you have to press shift while resizing it. In this case if you want a circle you have to pres shift, while you don’t have to press shift in case you want an ellipse .
Why to press alt? In this way the first click coincides with the center of the circle. Instead if you don’t hold down “Alt”, the first click coincides with a point of the circumference.
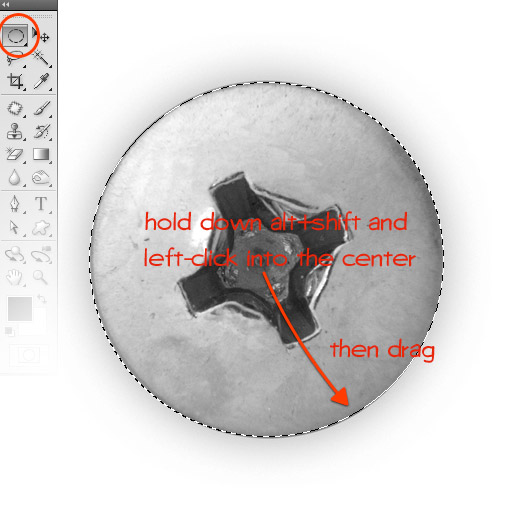
Once you have your screw selected, inverse the selection by going to Select>Inverse (or press shift+ctrl+I) and hit delete. You have so removed the background.
Note: in case you don’t see the transparent background, but still a white background, it means you haven’t unlocked the background layer. When you open an image in Photoshop this image is by default locked. To unlock it double click on the image layer (into the layer window – bottom right) and hit ok in the window that appears.
Note 2: If you want to save an image with a transparent background, you have to choose .png format.
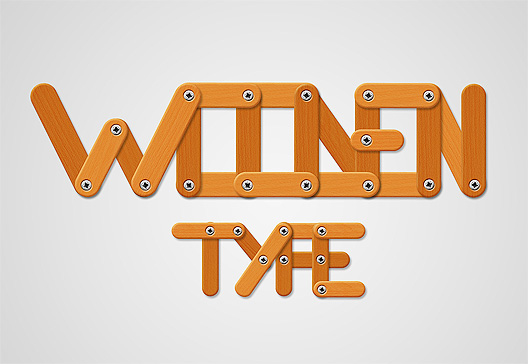
Now that you have your screw extracted, you can use it for your compositions, as I did in this type treatment tutorial:
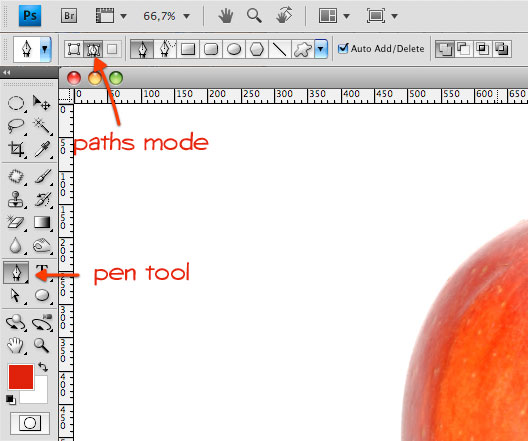
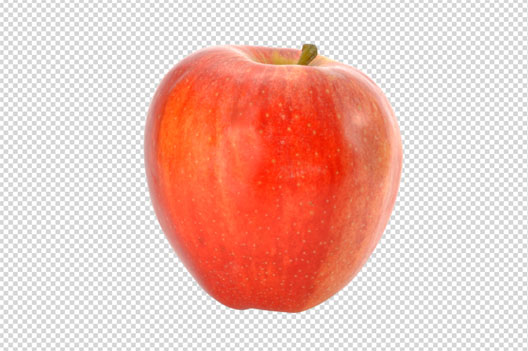
But what if you have to extract an object with a simple yet irregular form? In this case you have to use the Pen tool. The pen tool allows you to create any kind of form and selection. Select this tool from the tool bar and set it in “paths mode”. We will use the pen to extract an apple.
Don’t you know how the pen tool work? Take a look at the first tutorial for this matter.
Use the pen tool to trace the outline of the apple:
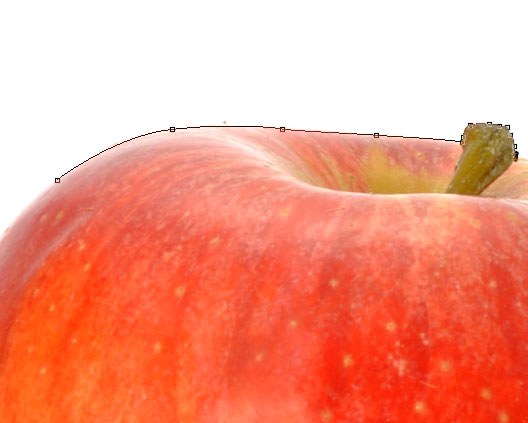
Once you’ve finished, press ctrl+enter to activate the selection tool, shift+ctrl+I to inverse the selection and finally hit delete.
Oefening 2: Hoe een persoon selecteren
Een persoon selecteren is heel wat moeilijker dan een appel. Voor deze oefening gebruiken we een model.

What is the best tool to extract this beautiful girl? The pen tool. What’s the difference with the previous exercise? You shall be moooooore patient because you need moooore anchor points. Grab the pen tool and zoom on the image. The more you zoom, more precisely will be your selection. Then start tracing the outline of the girl as in the previous exercise with the apple.
Tip: press alt+scroll the mouse wheel to zoom in/out
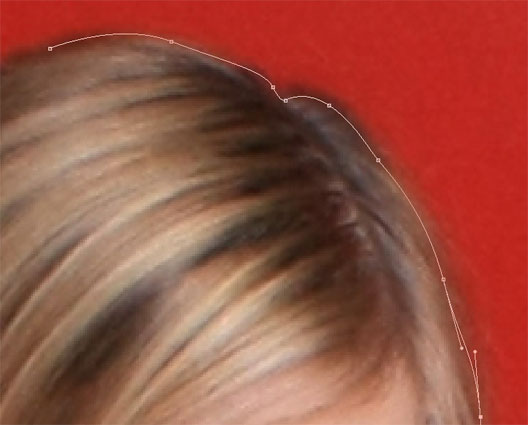
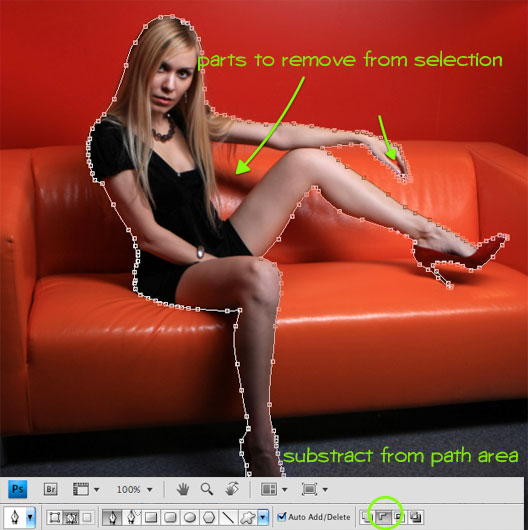
Once you’ve traced the outline of the model, use the pen tool in “substract area mode” to trace those inner parts that shall be removed.
Here is the path at the end of the process:
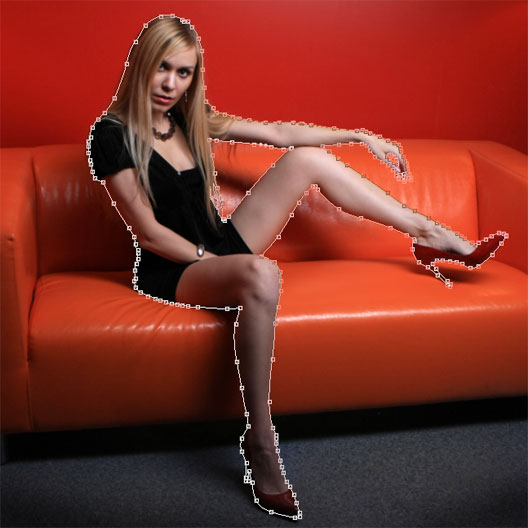
As in the previous exercise, press ctrl+enter to activate the selection. But in order to make our selection more precise (persons edges are more complex than apple ones), with the selection still active press the “refine edge” button in the options bar. Refine Edge tool is very intuitive to use. You have different options to manage (radius, contrast, smooth etc) and the live preview of your selection. When you’re satisfied hit ok.
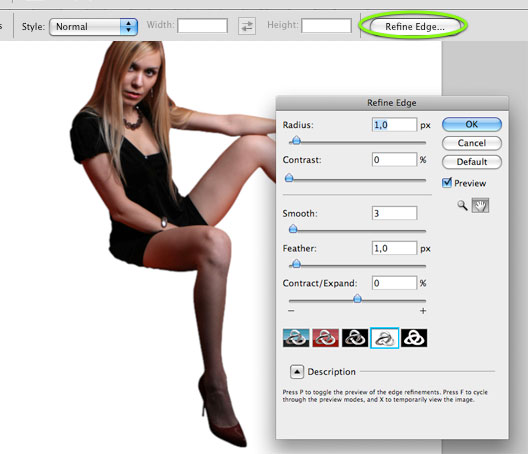
The last step is to inverse selection (shift+ctrl+I) and hit delete to remove the background.
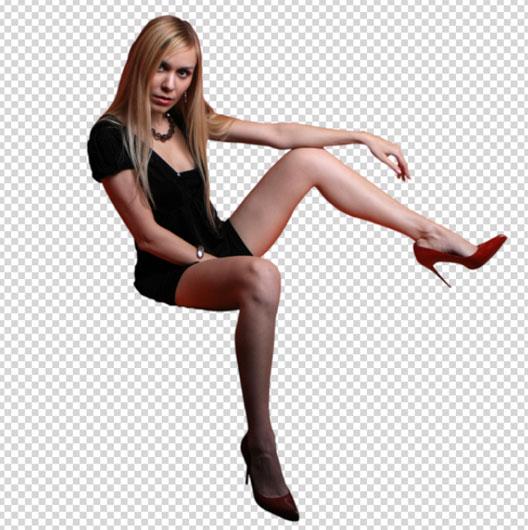
Oefening 3: Hoe wolken en vlammen selecteren
If you have always wondered how to extract clouds and flames from their backgrounds, the following exercise is for you. Download the image of a flame and open t in Photoshop.
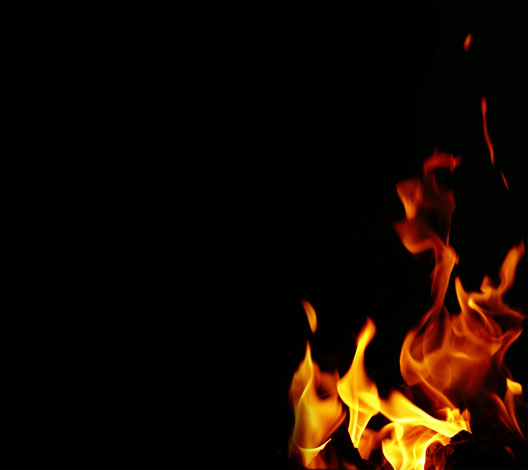
Go to the channels window (Window>Channels). Here ctrl+click con the red channel. You should see a selection active on your image.
Why red channel? Choose the channel in according with the image. Channels having more contrasts will allow you to detect less pixels. Channels with less contrast will detect more pixels.
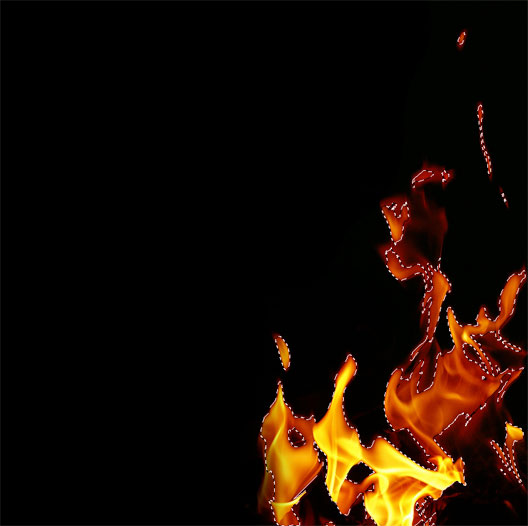
Now you can copy (ctrl+C) and paste (ctrl+V) your flames into another image, as I did in this tutorial written for DesignInstruct

Oefening 4: Hoe haar selecteren met kanalen
Haar selecteren is wellicht de moeilijkste oefening in Adobe Phoshop. We gebruiken in deze oefening kanalen.

In the channels window (Window>Channels) you can see 4 channels: RGB, Red,Green and Blue. We need to work with the channel with the strongest contrast between model hair and white background. In this case the Blue channel. Duplicate it by dragging it to the “create new layer channel” button.
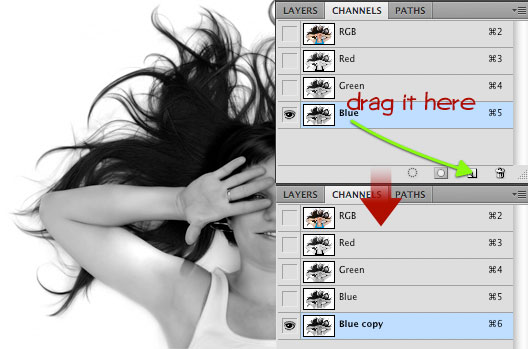
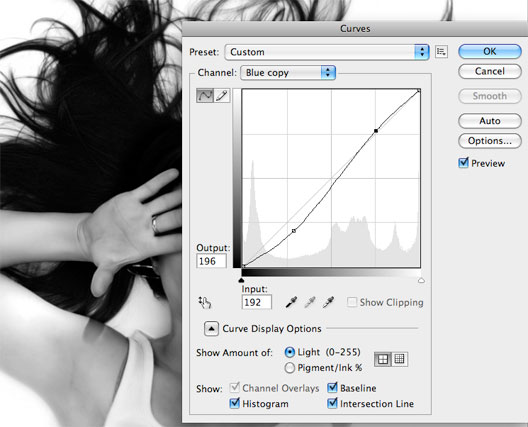
Now take in mind: black areas are the ones we want to retain, while white areas the ones we want to remove. The first thing to do is to increase a little bit contrasts using curves. Press ctrl+M to activate curves and make a kind of “S” as shown in the screenshot below:
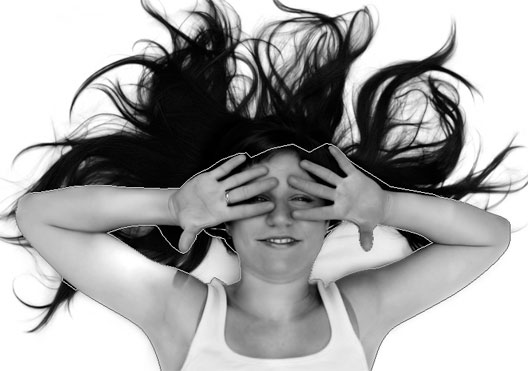
Secondly use the pen tool to trace the outline of girl’s arms and face:
Make sure to have black (#000000) as foreground color. Press ctrl+Enter to activate the selection and hit alt+delete to fill selection with black. Finally go to Select>Deselect (or press ctrl+D).
tip: Alt+delete: fill with foreground color. Ctrl+delete: fill using background color.
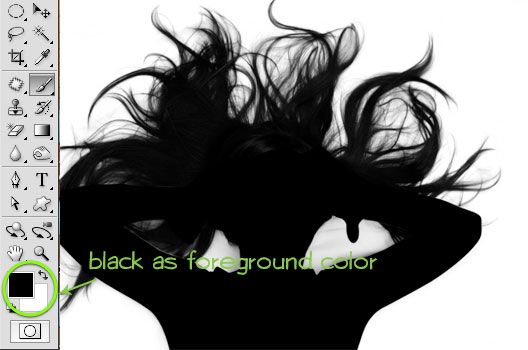
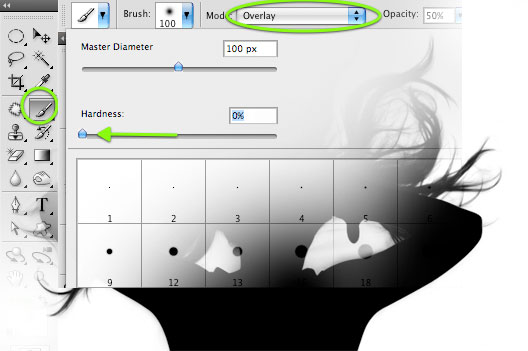
Our preparation to selection is almost complete. Remember: black areas will be selected while white ones removed. We still have to cover with black some white areas within hair. Select the brush tool (B), choose a soft mechanical brush (hardness 0%) and set blending mode to overlay. With this brush start painting the last white areas we want to remove.
Why blending mode to overlay? In this way we won’t affect white background but only gray areas
The last step: increase again contrasts using levels. Press ctrl+L to activate level adjustment. Then move the left arrow to 20.
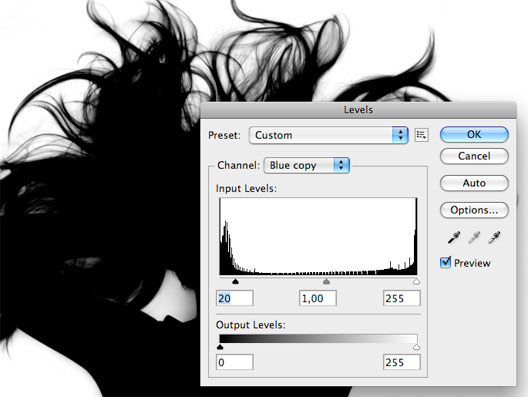
Ok we can see the end
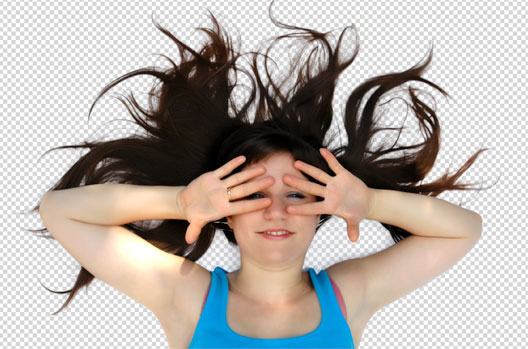
Let’s verify if the method works well. Create a new layer below and fill it with green using the Paint Bucket Tool (G).

As you can notice, selection is good but not perfect. We have some white parts at the end of hair strands. How to eliminate them? Simply select the girl’s layer and go to Layer>Matting>Remove white matting.
Here is the final result:

Oefening 5: Hoe harige diertjes selecteren
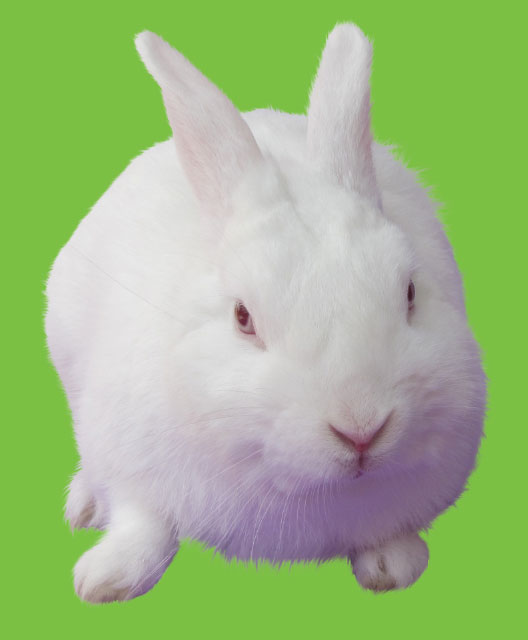
Een wit konijn uit je hoed toveren is wellicht gemakkelijker dan het te selecteren in Adobe Photoshop. Hoe kunnen we dit zonder niet al te veel haar te verliezen tijdens de selectie. We gebruiken de onderstaande foto vaan een wit konijn.
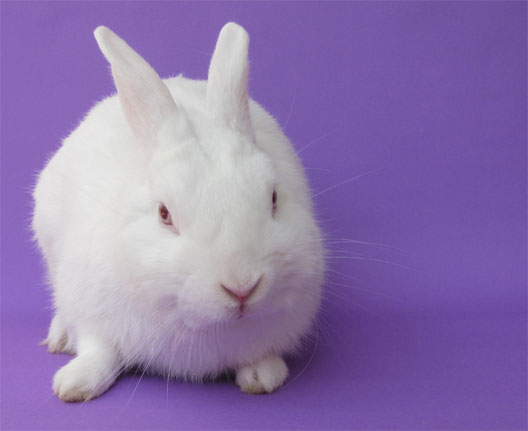
To extract hair/fur is not simple. But there is a trick I gonna show you. Grab the pen tool in paths mode and start tracing rabbit’s outline. We will add fur later.
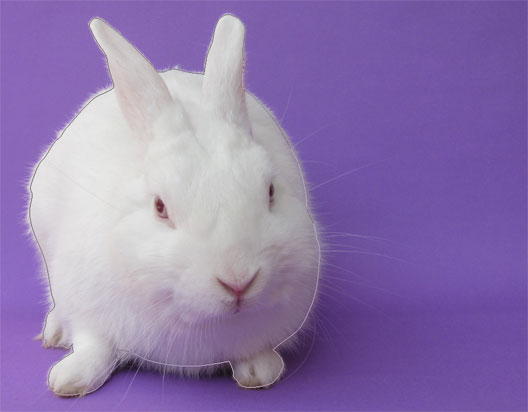
As we made in the previous tutorials, once we have created the path using the pen tool we can switch to the selection by pressing ctrl+Enter. Then inverse the selection (shift+ctrl+I) and hit delete.
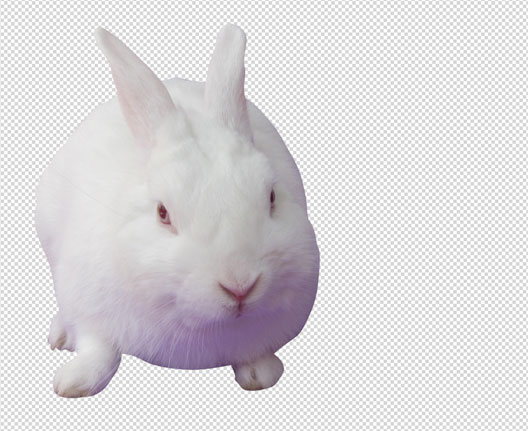
The rabbit is too sharp without its fur. But we can create them using the Smudge tool. Firstly create a new layer and fill it with green so it won’t be difficult to see bunny’s fur.
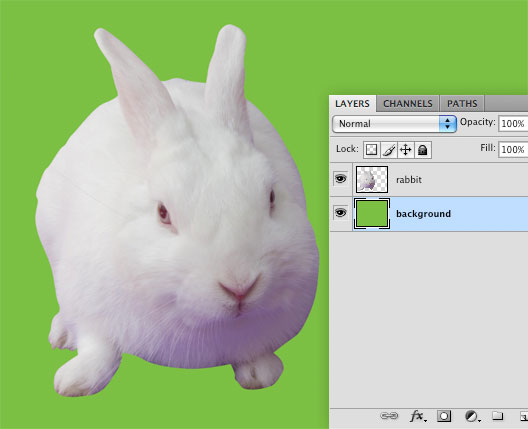
Select rabbit’s layer by clicking on it in the layers window. Grab the smudge tool and choose a soft 5px brush with hardness 0% and strenght 80%.
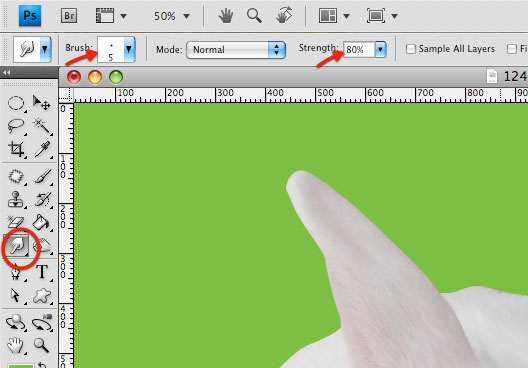
With the smudge tool start painting from the rabbit edges to the outside as if you’d like to create its fur. For this step the best would be to do with a graphic tablet. Anyway you can obtain a nice result with your mouse too.
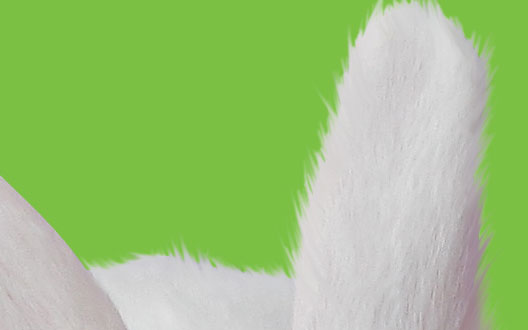
After lots of patience and brushes of different sizes and strength, here is the final result.
